If you lived in England or the American colonies in the 17th century, there was a good chance you’d suffer from a persistent, uncomfortable physical ailment which today would be easily treated with a quick trip to Walgreens. Irritating urinary tract issues were common — stones, infections, inflammations and the like. And while clever witches were whipping up ointments and tinctures to ease symptoms (some of which were even adapted by modern medicine), the less enlightened were busy searching for a scapegoat.
So what’s to blame? Unhygienic living conditions? Hell no. It was the unmarried, childless lady who lived up the road, with the affinity for animals and a knack for herbs. The witch. The witch was to blame!
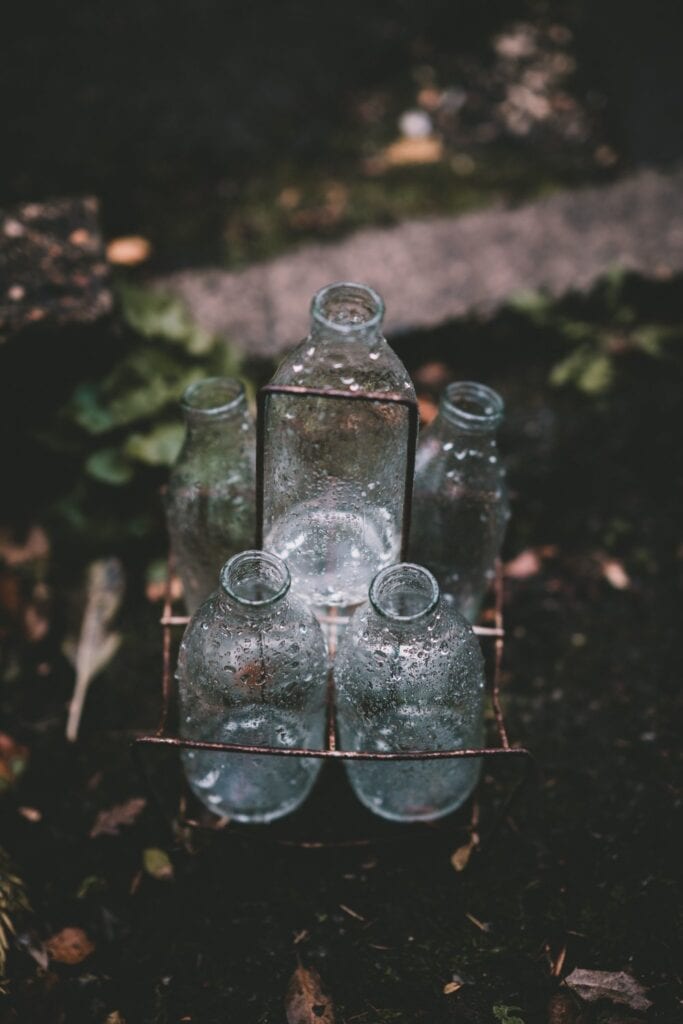
Though witchcraft was abhorred, feared, and even legislated against, in these societies people decided to fight fire with fire. Enter the witch bottle; protective magic for the common man. Witch bottles served two purposes: Stopping any curses from hitting you (much like a dreamcatcher hung over beds is supposed to trap nightmares) and sending the curse back to the witch tenfold. If your witch bottle happened to kill the witch, even better. A little extreme to want a stranger dead over a bladder infection, but there you go.
If a victim feared their “incurable” health issue — a UTI, for example — was the work of a witch, the first thing they had to do was procure a bottle (glass, terra cotta, or stoneware were most popular). Then they filled the bottle with their own urine. I’ve heard two reasons for this. One explanation is that the urine acted as a taglock, meant to tie the bottle to the victim so the magic knew who was suffering. The second explanation is that the bottle was supposed to represent the witch’s body, and the urine inside the bottle would represent what should be attacked inside her body when the curse came rebounding back.
The victim would then fill the bottle with rusty, bent nails, felt hearts stuffed with pins, hair, glass — anything that would mimic the discomfort they were currently experiencing and hopefully “trap” the curse. The final step was to get rid of the witch bottle, either by chucking it into a stream, putting it in the stove, or burying it upside down — getting rid of the curse and sending it back to the witch. More complicated preparations could be undertaken, such as adding bones and other meaningful objects to the burial site. All that was left to do now was wait. Either the curse would rebound back to the witch and she’d be forced to lift it from her victim, or the curse would resolve itself thanks to the protection of the witch bottle.
Given the era, there was a surprising cultural acceptance for victims of witchcraft to dabble in magic themselves. Instructions for the creation of witch bottles would be available from local apothecaries. Some people used them for the more general protection of homes and buildings and buried them in the foundation or walls of a house. Others were carried to the farthest boundary of a property, drawing negative influences far away from the home and trapping them. These bottles might be filled with symbolic offerings for protection of the structure and those who dwelled within, and not with tools for revenge.
If bottles didn’t suit you, you could always turn to the witch ball to ward away those pesky witches. They were small, mirrored balls that were supposed to send a witch running for the hills if she saw her own reflection. However, the witch balls were so striking hanging from windows and trees that people decided they were too pretty to waste on witches and started hanging them as decoration. You probably own a few yourself, but of course, we call them Christmas ornaments these days.
It wasn’t long before witches reclaimed the witch bottles and began using them for their own purposes, protection of the property still being the main one. The ingredients evolved and the intention of these bottles became much more refined. The bottles were filled with sharp, dangerous objects like pins, razors, and nails before red wine and rosemary were added and the bottle sealed. The pins trapped anything trying to hurt the witch; the wine “drowned” it or took away its power and the rosemary sent it away. Seeing an opportunity, many witches also made bottles that summoned good things instead of just repelling bad ones. The bottles were no longer destroyed but buried in places they would never be disturbed.
Curse Lifting With Witch Bottles
As I mentioned, although witch bottles have been modified over the years to be used for more positive magic, their original purpose was protective and more specifically, for getting rid of curses. Recently, I wrote a post about how to curse someone else, but I failed to mention what you should do if you’re the victim of a curse. Well, the witch bottle is a great antidote if you find yourself on the receiving end of another witch’s fury. First things first, though. How do you know if you’ve been cursed?
Curses most often manifest in the form of extremely bad luck. Unexplained, sudden pain that has no medical reason, discovering that some of your things have gone missing, protective amulets breaking, nightmares, finding strange symbols, powders or liquids around your property, bad omens, or strange emotions or thoughts that don’t feel like your own are all signs you may be cursed. If you suspect you might be cursed, chances are you have a good idea who might be responsible and why. If you don’t spend a lot of time around other witches, your risk is pretty low but do keep in mind that many witches practice in secret. Even without definitive proof of a curse, you can still use a witch bottle as a precaution to lift it and as future protection.
What you will need:
- A bottle or jar
- Red wine OR vinegar OR Four Thieves Vinegar OR, if you’re feeling particularly traditional, urine
- Rosemary, dried
- Various sharp objects (pins, nails, razor blades, fish hooks, screws, broken glass or mirrors, tacks — you get the idea)
- Matches
- One black and one white candle
- A piece of cloth
- Saucepan and a straining spoon
I’m keeping to a very basic, traditional method of making a witch bottle but feel free to tweak any element as you see fit. What the witch bottle seeks to do is trap, drown, and send away. If you don’t want to use wine or vinegar, hey, urine is free but also not for everyone. So you can definitely use substitutions here. As for the sharp items used to “trap” the curse, I’ve heard using rusty items is essential but as someone who grew up hearing horror stories about tetanus, I don’t do this. Be safe and clean. No one wants to ring in the new year with lockjaw.
Now that you’ve got your ingredients, it’s time to bring it all together. Put a saucepan on the stove over medium heat and add the liquid you’ve chosen for your witch bottle. Bring this to a boil and begin adding your sharp objects one by one. You don’t need to leave this boiling for long, just give everything some time to heat up, then remove the saucepan from the stove and set aside.
Place your jar on your cloth and on either side of this, set up your white and black candles. Light the candles, take a deep breath, and begin fishing out your sharp items from the saucepan with your straining spoon. Add them to the jar and as you do, imagine all the misfortune that has recently befallen you, and imagine skewering these bad moments and pulling them away from you. Picture the curse on you as a tangible thing, like a greyish-green bubble, and these dangerous little things are shredding it. Visualization is important here. Try very hard to see the curse moving from you and into the jar. See it trapped in the jar, snared on the pins and nails.
Very carefully, pour your liquid into the jar almost to the top. The curse, now stuck in the bottom of the jar, is drowned by the liquid and is dissolving very quickly. As soon as the liquid is in, strike three matches and throw them into the liquid, then add your rosemary. The liquid should still be warm, so see the steam rising from the jar as remnants of the curse evaporating, banished entirely. Take another deep breath and try to center and get back to neutral. You might feel lighter and more clear-headed now that you’ve gotten rid of this nastiness!
When the jar is cool enough to handle, seal it tightly and flip it upside down. Blow out your candles, wipe the jar with the cloth and clean up any spilled liquid. Get this cloth in the washer ASAP. Now it’s time for placement.
I don’t condone burying bottles in the earth. I know this is how it’s done traditionally, but I’d like to veer from tradition for this last part because these days we know better. If you definitely feel your bottle should be in the ground, fill a pot with dirt and bury the bottle there. If it’s small enough, you could add it to a potted plant though you run the risk of having it disturbed. These bottles should NOT be moved after they are placed for a long, long time. Keeping the bottle upside down, you could place it under the porch, in the very back of the cabinet under the sink, somewhere in the garage, or in the basement, etc. Voila, the curse is lifted and now your home has the very old and powerful protection of a witch bottle!
Ready to become a witch?
Join my FREE Witchcraft Foundations class!

Updated on August 20, 2023 by Avery Hart


I’m going to try this technique as I understand how it works. I am now drawing a diagram using symbolism that is supposed to temporarily hold the curse until I know what to do but I was unsure of how to get the curse into the box. I’ll still finish it. Then I will try the whichever bottle, having had success before using something similar for protection against a human man. Thank You